STAGE SIZING / FIELD NOTES
How much stage do you actually need?
Start with the busiest moment of the event, not the number of guests. The platform has to hold everyone and everything on it while leaving a workable way in and out.
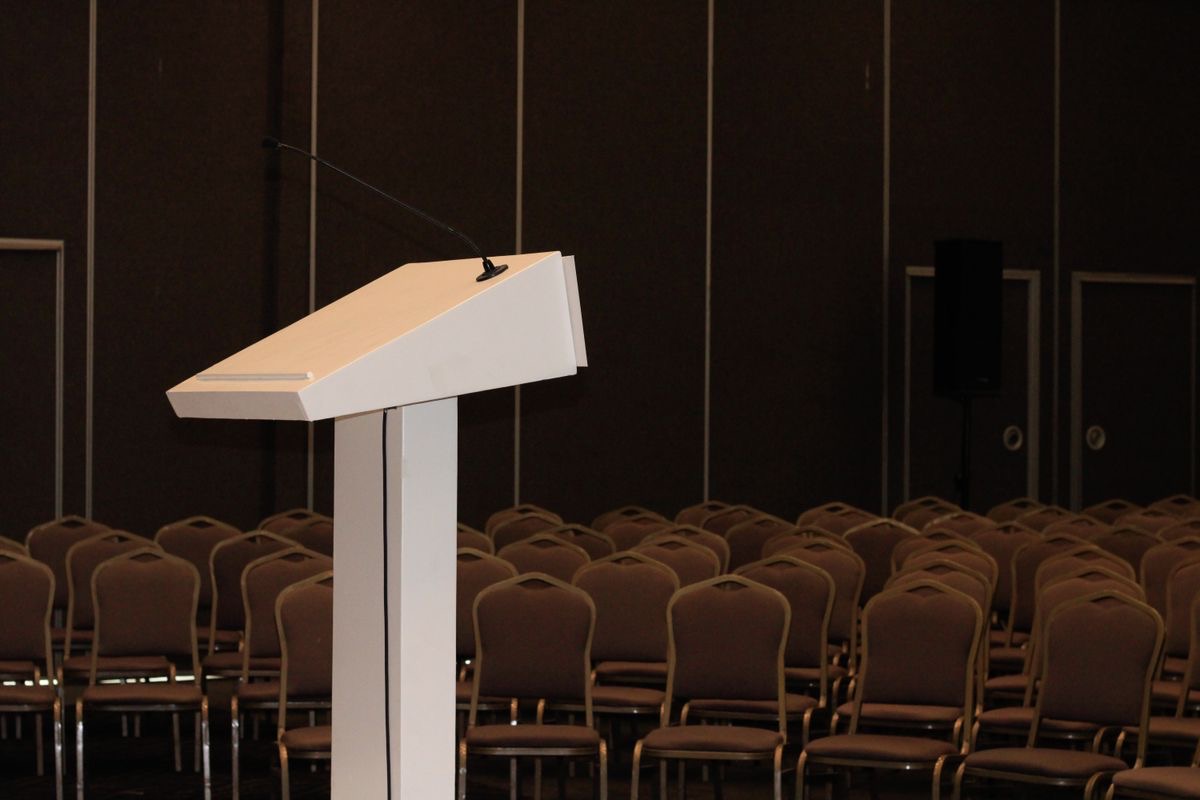
Sketch the busiest scene to scale, add the furniture and equipment, then check access and sightlines at the venue. An 8 × 8, 12 × 16, 16 × 24 or 24 × 32 ft footprint can start the conversation, but none is a capacity promise.
Draw the busiest scene first
If the show alternates between a single speaker and a panel, draw the panel. If the panel gives way to a band, draw the band with its instruments, monitors and entrances. The smaller scene will usually fit inside the larger one; the reverse is where an apparently sensible stage becomes cramped.
A rectangle on a floor plan is enough to begin. Mark where people stand or sit, where the lectern or display goes, and where someone needs to walk. Furniture dimensions matter more than labels like ‘small event’ or ‘medium stage’.
Check these details
- Maximum number of people on the platform at one time
- Chairs, lectern, instruments, screens and any set pieces
- The route each person uses to enter and leave
Use four footprints as a vocabulary, not a catalogue
An 8 × 8 ft square is a compact starting point for one presenter or display. A 12 × 16 ft rectangle gives a panel or small performance more room. A 16 × 24 ft layout can separate people, furniture and movement. At 24 × 32 ft, site access and production planning become a larger part of the discussion.
Those examples tell a supplier roughly what you mean. They do not tell you the safe load, stage height, number of components in stock, or whether the venue can accept the structure. Ask for those details in the written quote rather than guessing them from area alone.
Compare the four planning footprintsThen take the drawing to the venue
Measure the usable floor area, not the room’s headline dimensions. Leave the venue’s required aisles, exits and access routes clear. Check door and lift openings on the loading route, ceiling height, and whether a ramp or stairs must fit beside the platform.
Stand where the first and last audience rows will be. If a tall backdrop or screen blocks a sightline, a wider stage may not solve the problem. The platform position, audience layout and screen position may need to change together.
For an outdoor site, ground conditions and weather planning are separate checks. A footprint that fits on paper is not approval to build it there.
Read the outdoor site checklistSend a sketch, even if it is rough
A labelled photo of the room or a marked-up venue plan is more useful than an exact-looking number with no context. Put the stage, audience, loading door, power location and any fixed obstacles on one page. State which measurements are estimates.
The final size should be confirmed only after the event plan, site and available equipment have been reviewed. If you are uncertain, say so. The quote process is the place to refine the layout.
Prepare a stage inquirySources and further reading
These references support the planning points above. Site-specific requirements still need checking with the venue and relevant authority.